Guide to Advanced Age Alterations with Ager
Explore how to perform advanced age alterations using Ager, an AI tool. This guide provides detailed steps and practical tips for achieving authentic age transformations.
Introduction to Ager
Ager is a remarkable tool that leverages AI to deliver accurate age alterations in photographs. Whether you're curious about how someone might look younger or older, Ager provides a detailed solution to satisfy your curiosity.
Step-by-Step Guide to Using Ager for Age Alterations
Follow this comprehensive guide to navigate Ager's interface and perform advanced age alterations effectively.
Step 1: Access and Upload
First, access the Ager platform using your web browser. Once on the homepage, you will find an 'Upload' button prominently displayed.
- Click on the 'Upload' button.
- Select a clear image of the face you wish to alter.
- After uploading, the tool will process the image swiftly.
Screenshot description: The image shows the Ager homepage with the 'Upload' button highlighted.
Step 2: Choose Age Category
After uploading your photo, you'll need to select the desired age category.
- Navigate to the age selection menu on the right side of the interface.
- Select from 'Make Younger' or 'Make Older' options.
- Adjust the slider to set the exact age range you'd like to visualize.
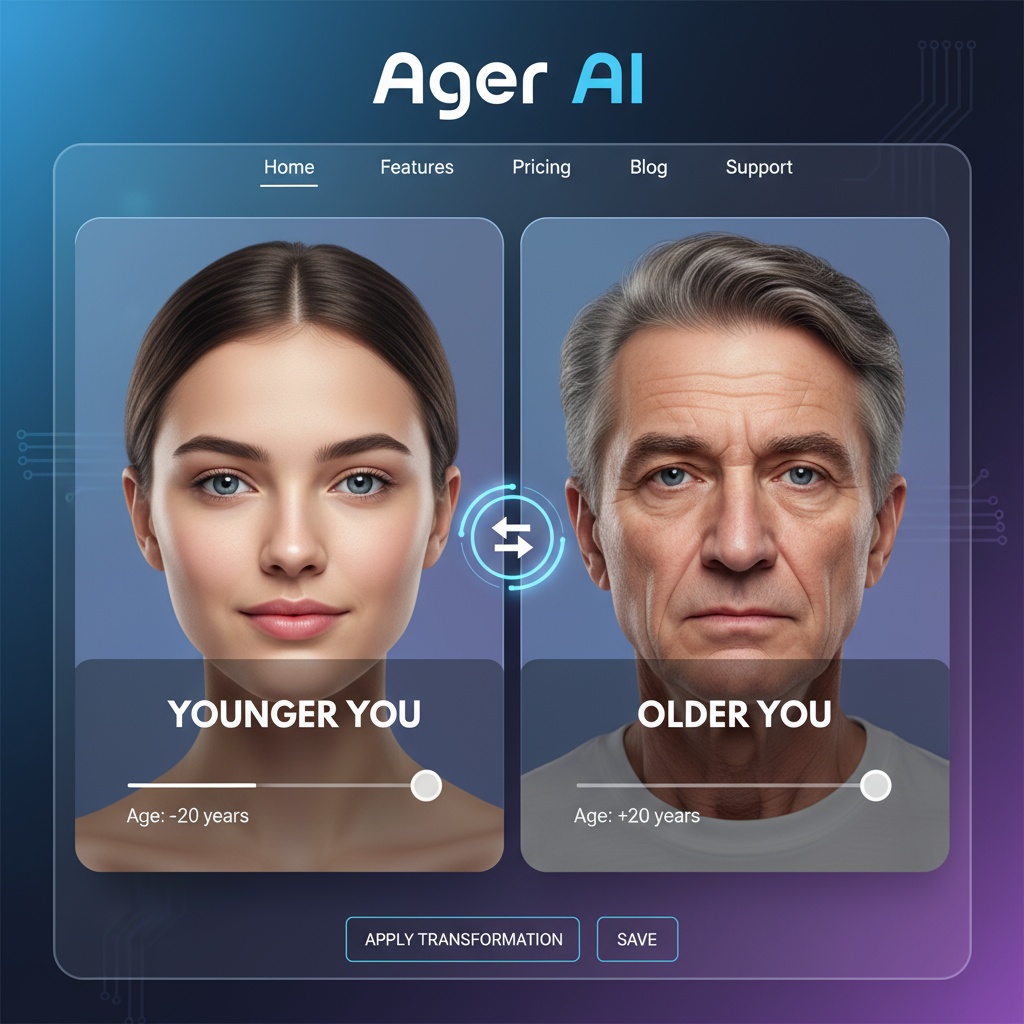
Screenshot description: The image displays the age selection menu with 'Make Younger' and 'Make Older' options.
Step 3: Apply the Transformation
Now, it's time to see the magic happen!
- Click on the 'Apply' button to initiate the transformation.
- The tool will process the image and present a side-by-side comparison of the original and altered photo.
Screenshot description: A side-by-side image comparison showing the original and the altered version.
Step 4: Download Your Image
Once satisfied with the results, you can download your altered image.
- Click on the 'Download' button located below the image preview.
- Choose your preferred file format and quality settings.
- Save the image to your desired location.
Screenshot description: The download settings menu with options for file format and quality.
Practical Tips for Best Results
- Use high-resolution images for more accurate transformations.
- Avoid images with sunglasses or hats that obscure facial features.
- Experiment with different age ranges to explore the tool's potential.
Use Case: Family History Project
Create a family history presentation by altering photos of ancestors to show their potential appearance at different life stages.
For example, upload an image of your grandfather in his youth and set it to 'Make Older' to demonstrate his aging over the years. Alternatively, try making older family pictures look like they were taken in their youth.
Example prompt for Ager: Upload image of grandfather, use 'Make Older', set age to 70
This creative visualization can be a delightful addition to family reunions or historical family books, providing a unique perspective on your lineage.
